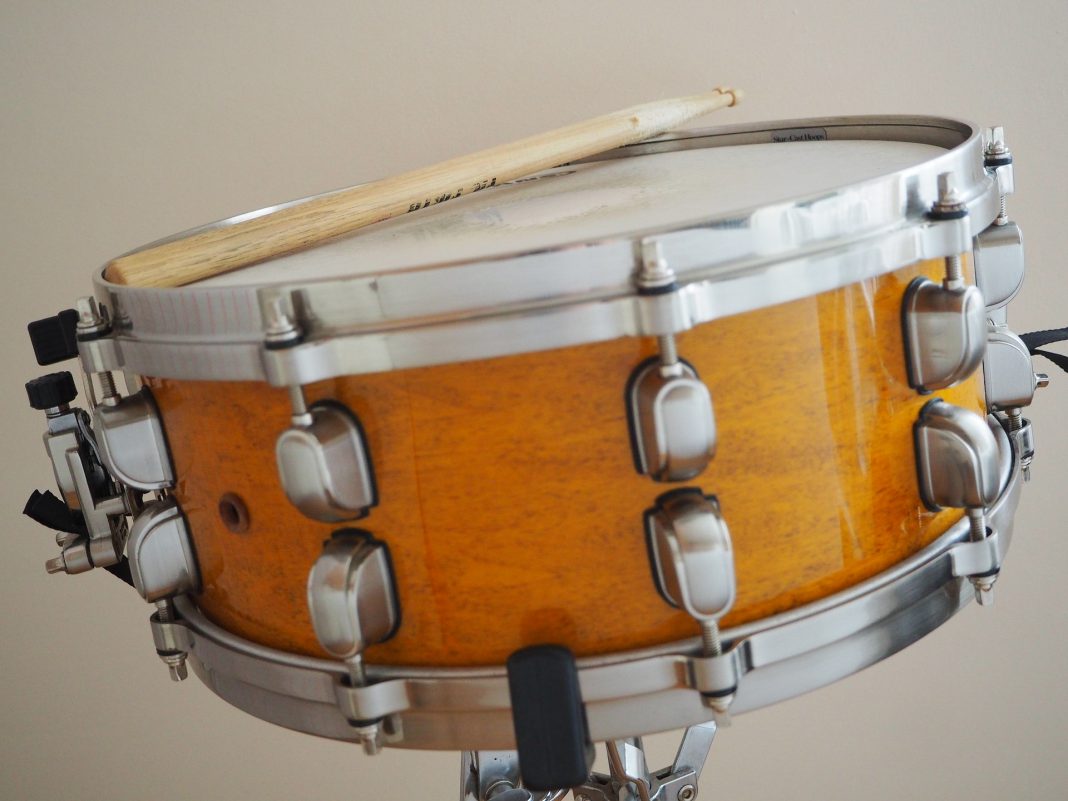
A guide to setting up your snare drum and grip.
Set It!
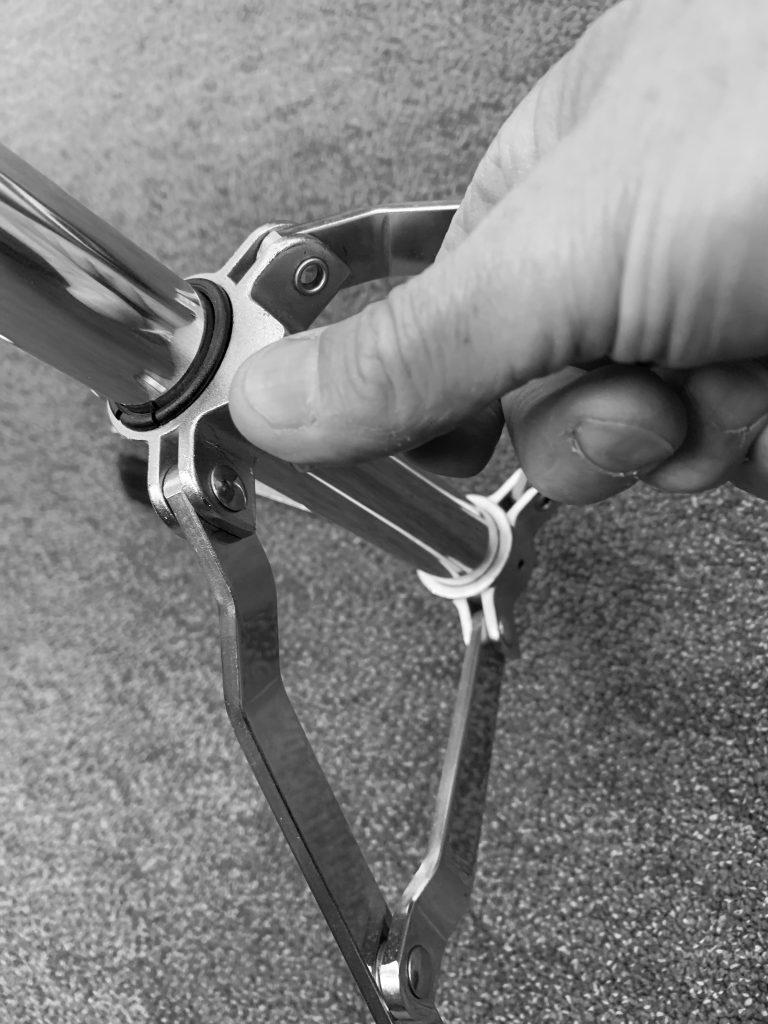
1. Open the legs so that they are just wider than the diameter of the drum.
Always loosen or tighten thumbscrews only 1-1/2 turns at the most to prevent damage or losing the screw.
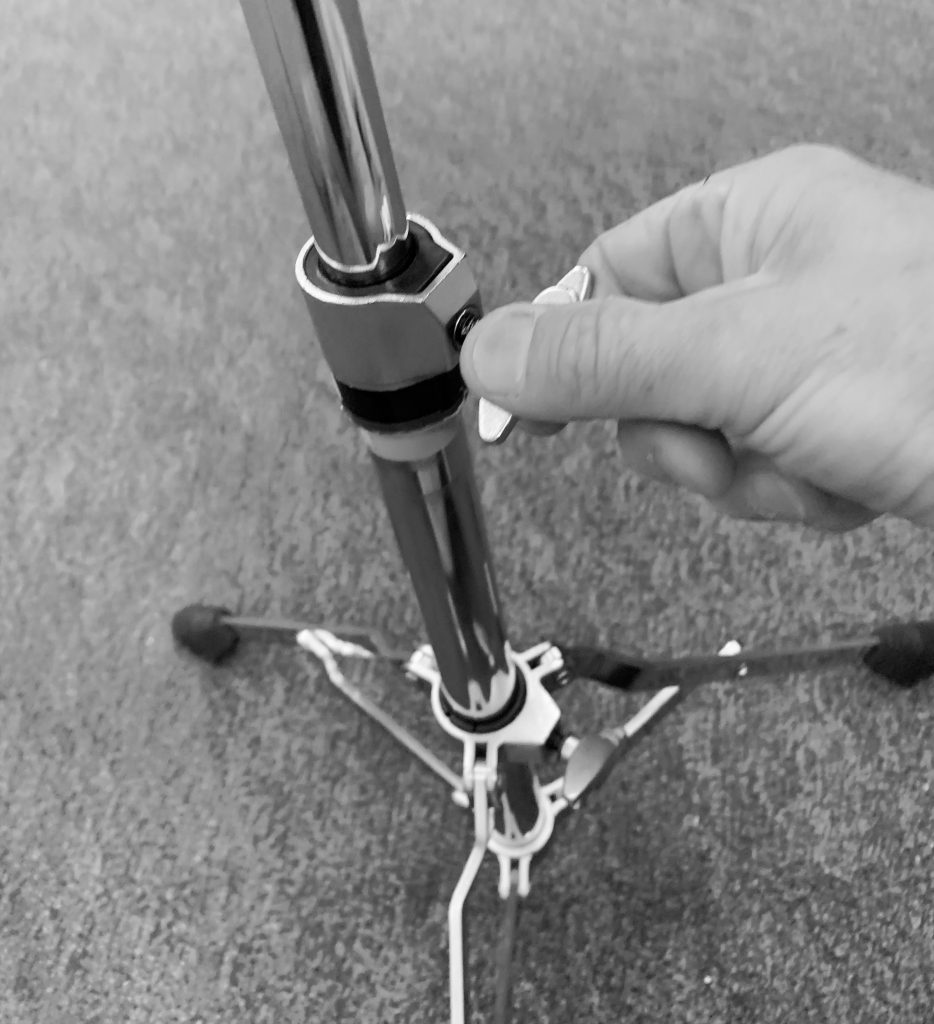
2. Adjust the tilt so that the basket sits level.
Some stands may not allow you to adjust the drum exactly level. If so, let the drum tilt slightly away from the player.
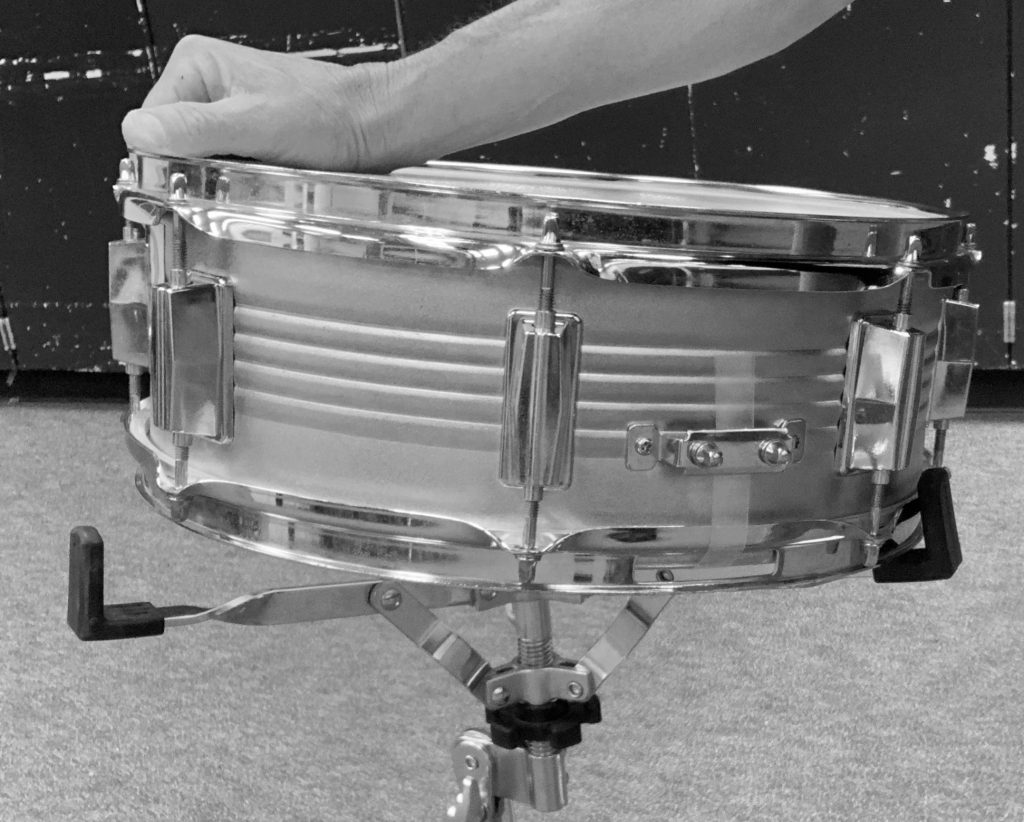
3. Carefully set the drum in the basket, not on it. Sitting the head on the basket arms can easily damage the head!
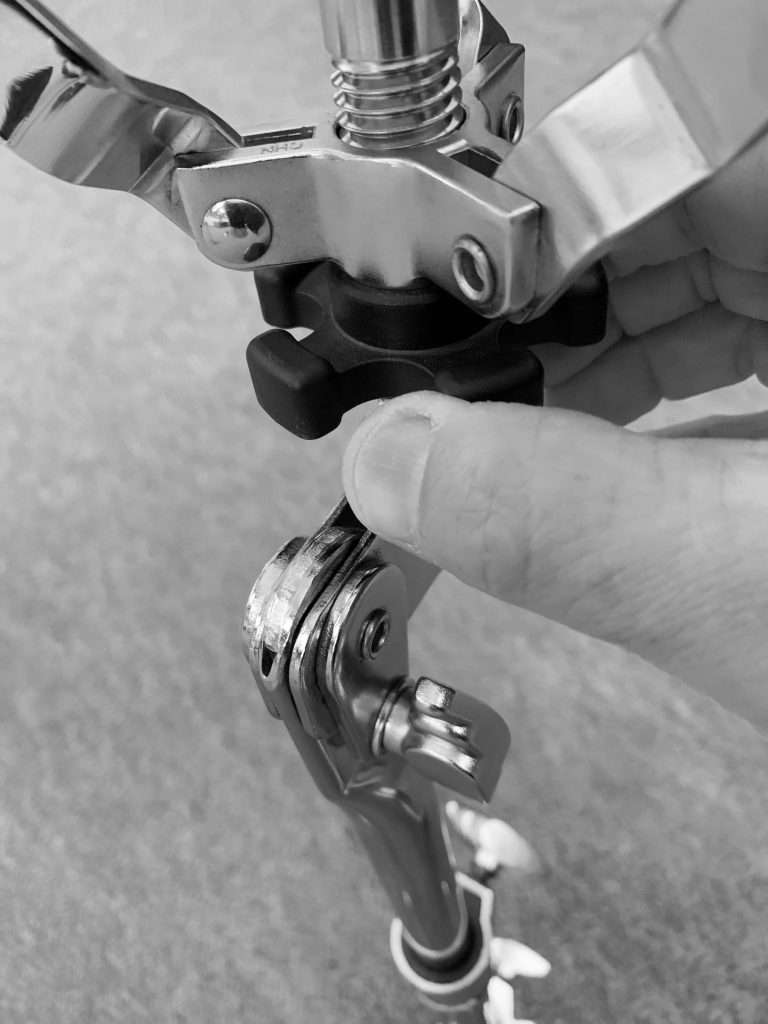
4. Tighten the basket so that the arms grip the rims of the drum well. This adjustment looks very different on many stands, but is always right below the basket.
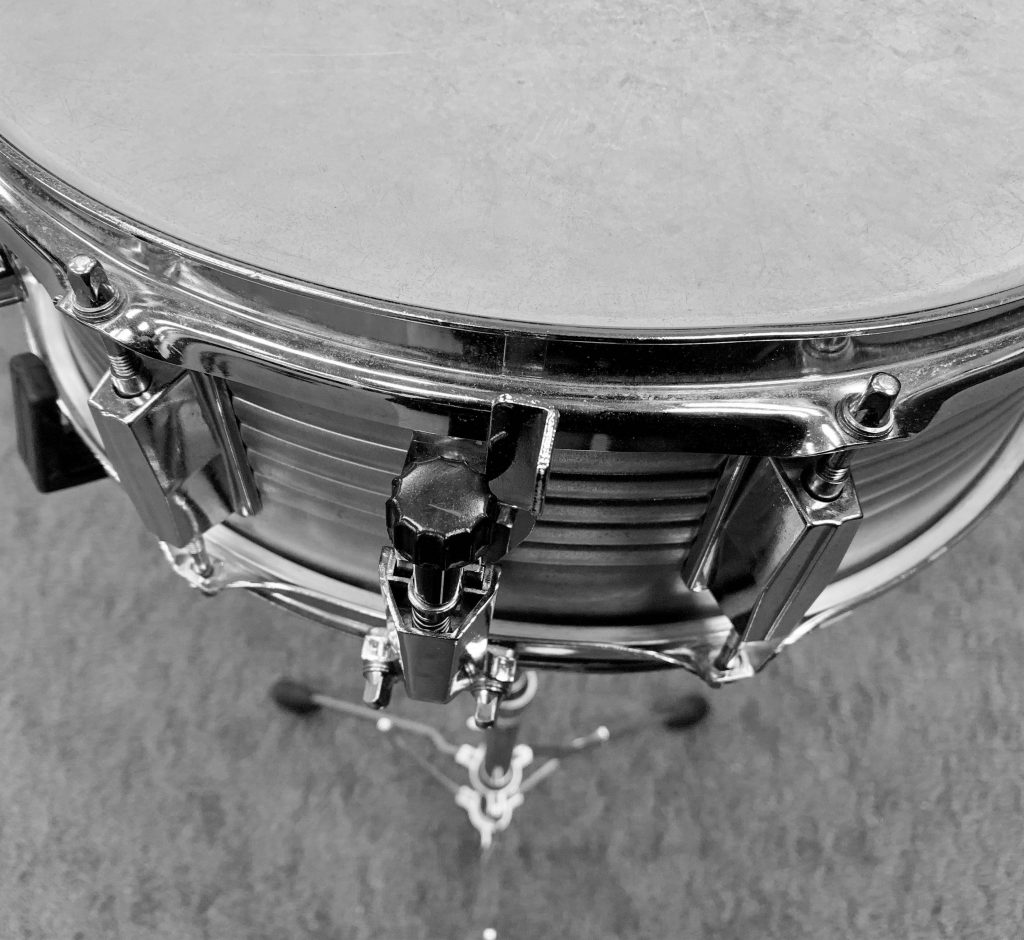
5. The throw off switch should be facing the player.

6. Adjust the height to fit the player.
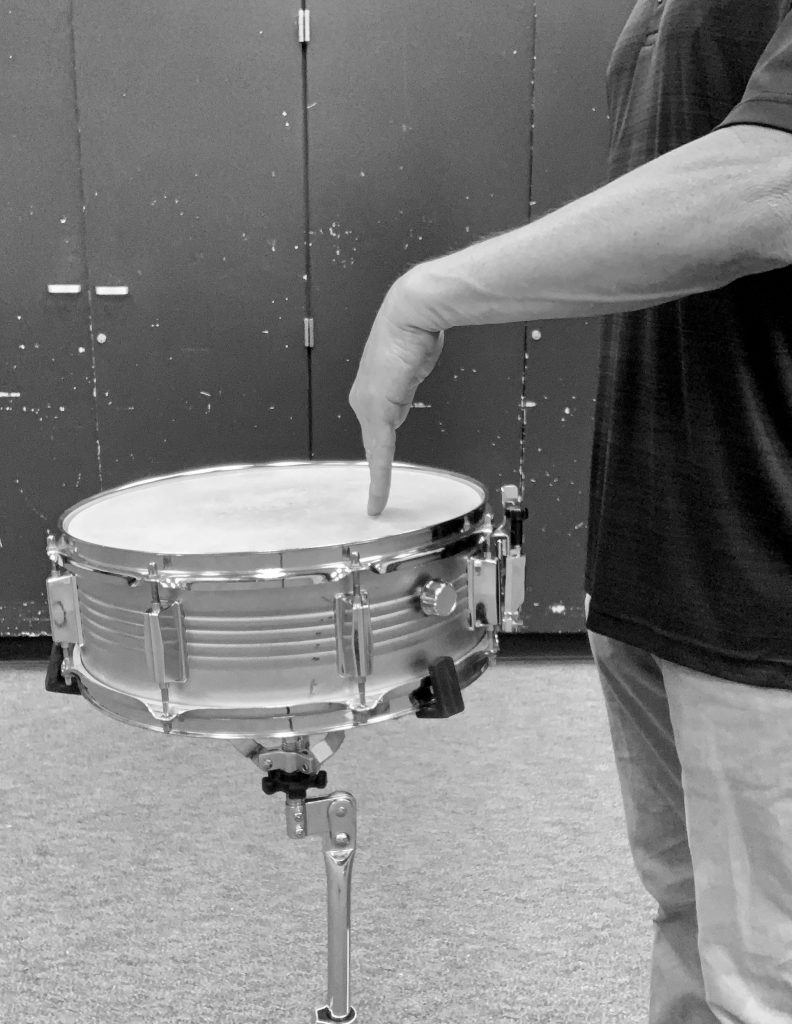
7. Check the height by having the player bend their arm at the elbow slightly greater than 90o, then bend the wrist down so fingers just touch the head.
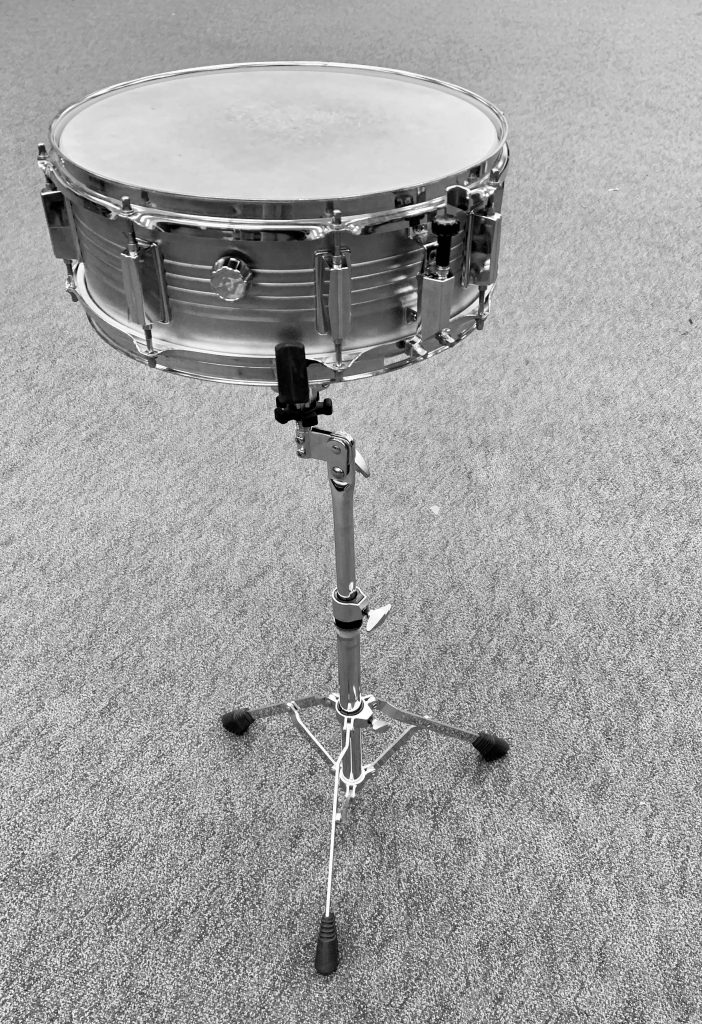
Your drum is now set up and ready to play!
GRIP IT!
Starting out with matched grip
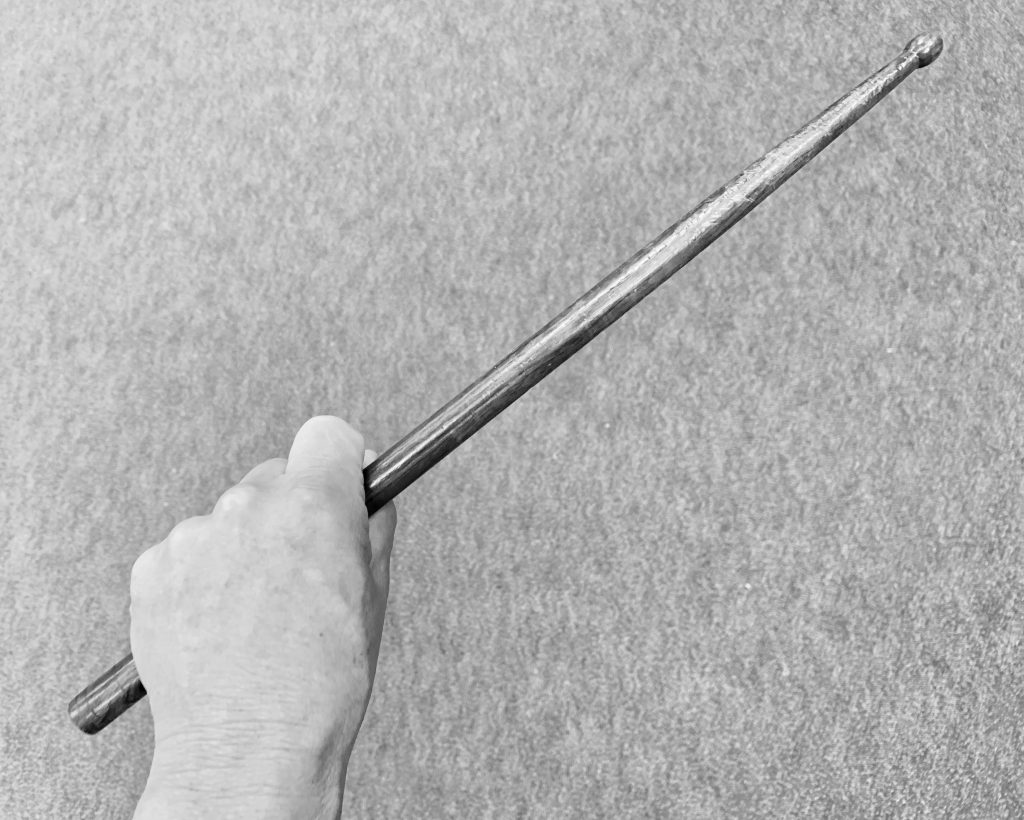
Start by just having the student grab the stick, like they’re taking it from you. The grip should be firm, but not squeezing.
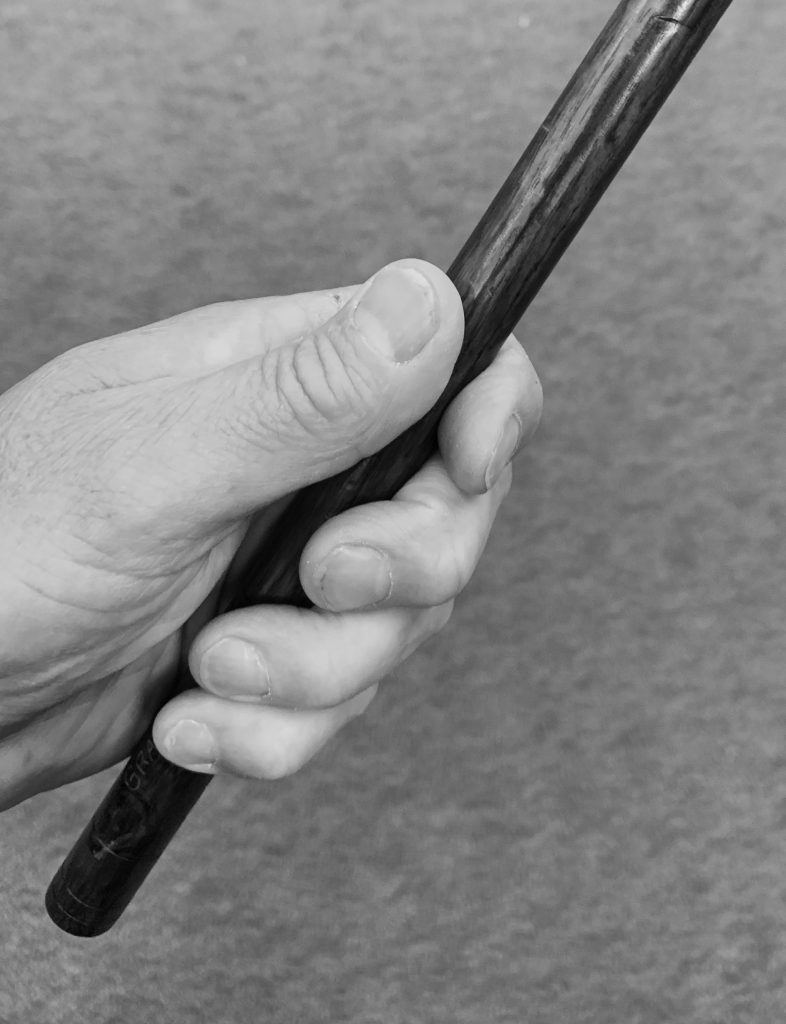
Then adjust the thumb, so it’s opposite the last joint of the first finger. Keep the last two fingers loosely on the stick.
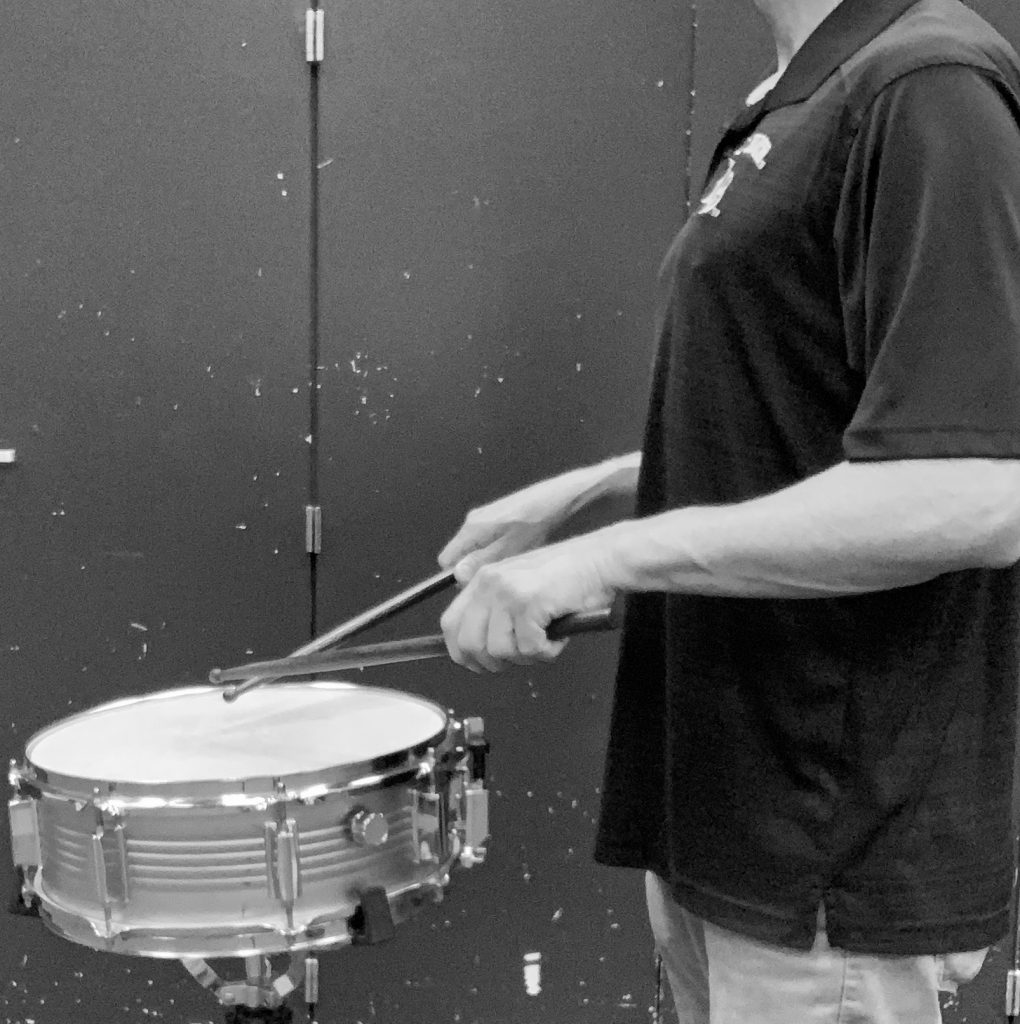
With arms relaxed at sides, bring the forearms up until they are bent at slightly greater than a 90o angle. The sticks may have a slight downward angle. Make sure the player is not standing too close to the drum.
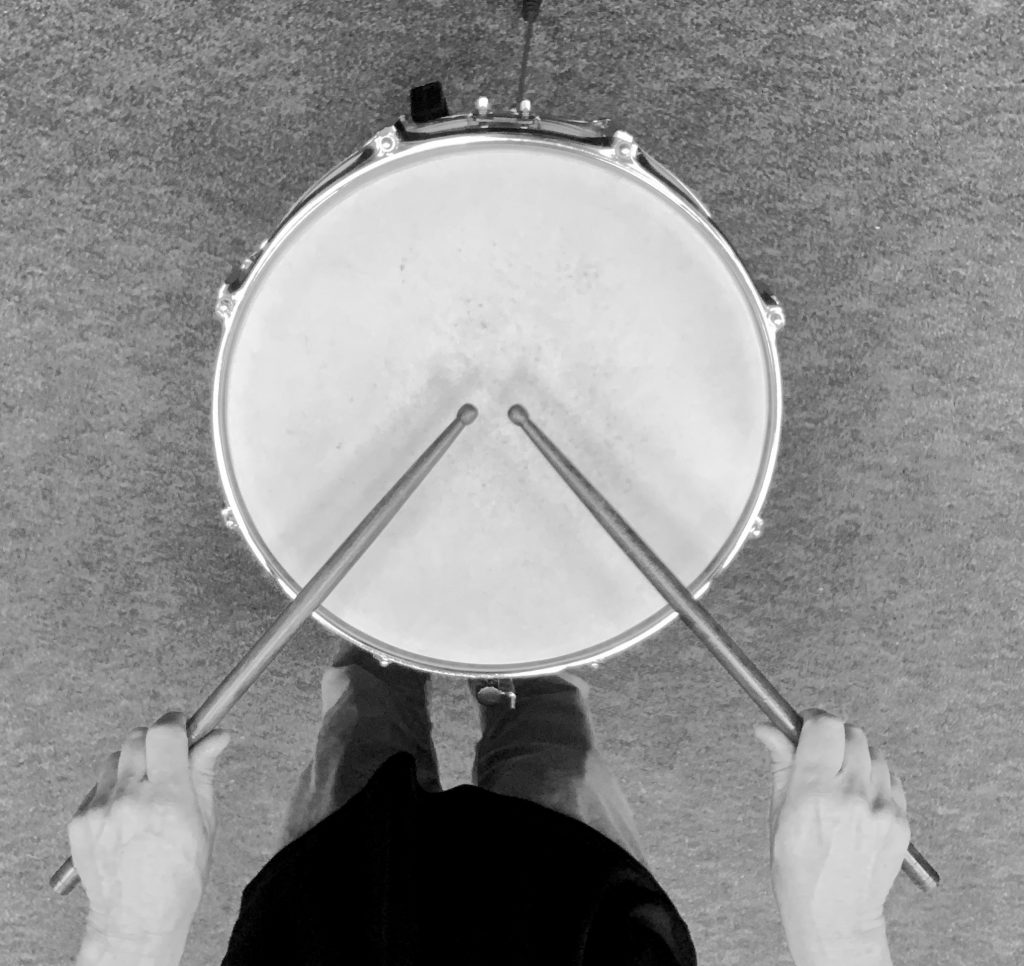
Palms should be facing down, with the sticks making a 90º angle, or slightly less.
Place the sticks slightly off-center for the best playing spot.
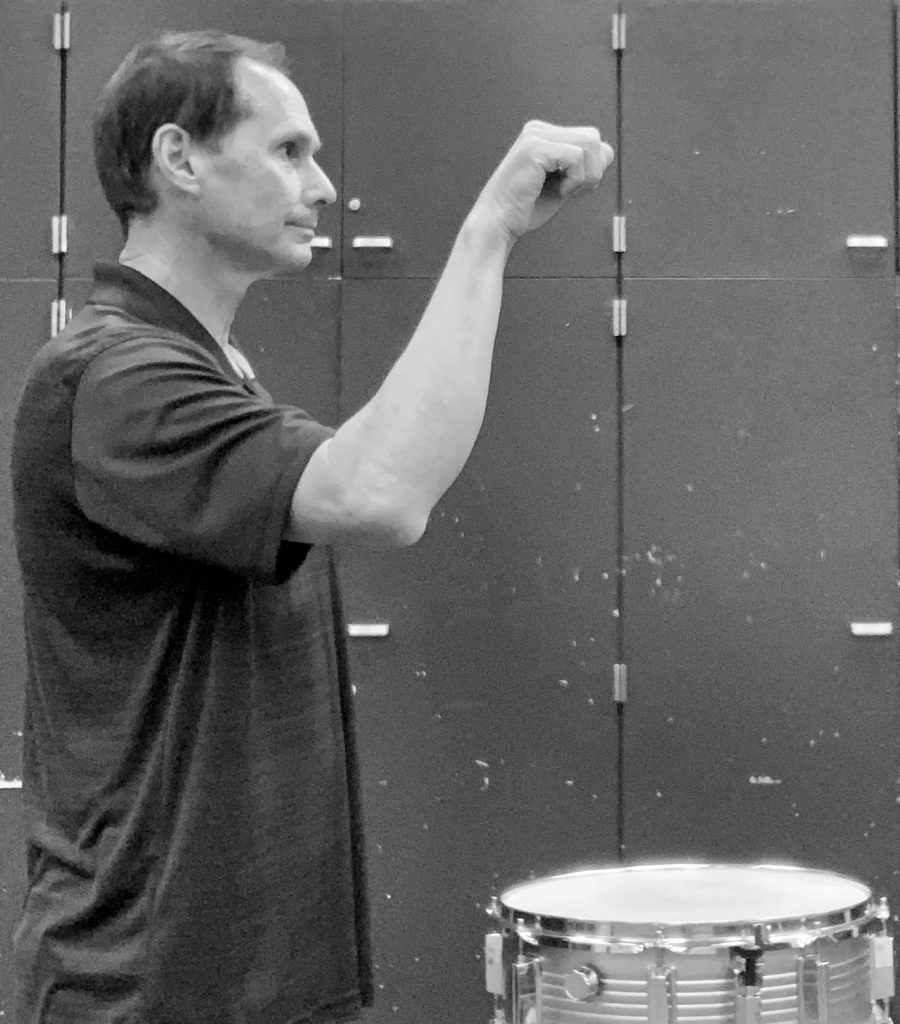
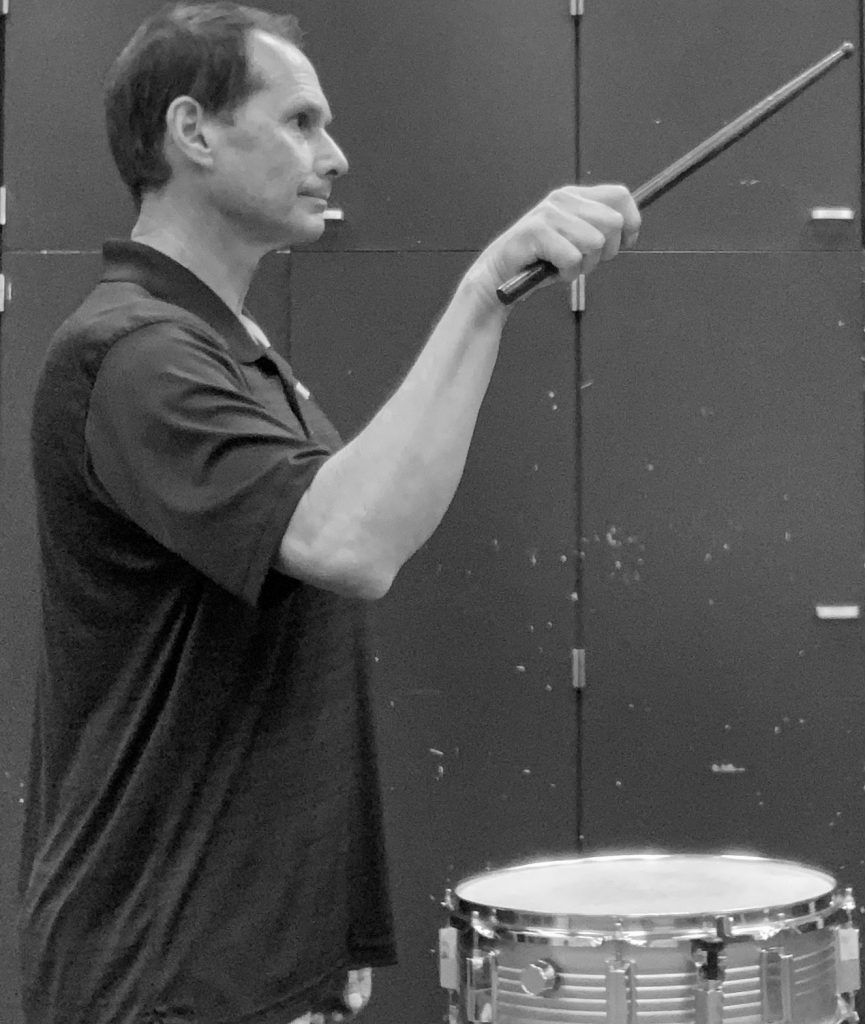
One way to establish proper wrist motion is to have the player pretend to knock on a door, using a wrist motion, then place the stick in their hand and repeat the same motion. After this, lower the arms and try the same motion over the drum, striking the drum on the downstroke.
Happy Drumming!

