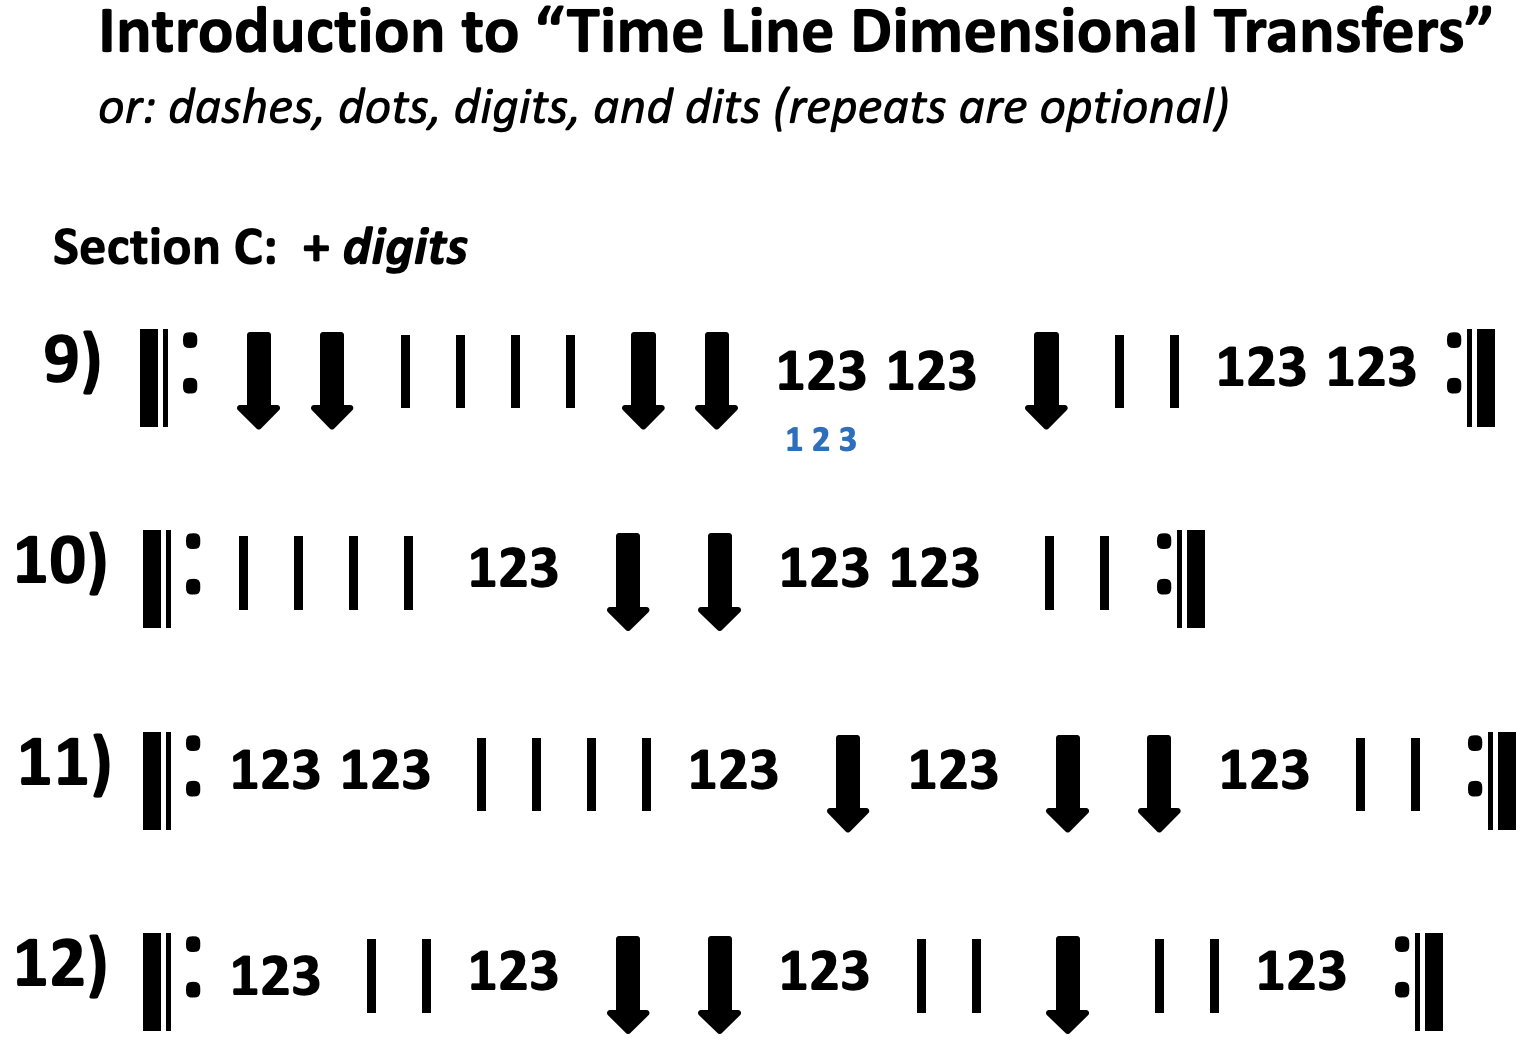
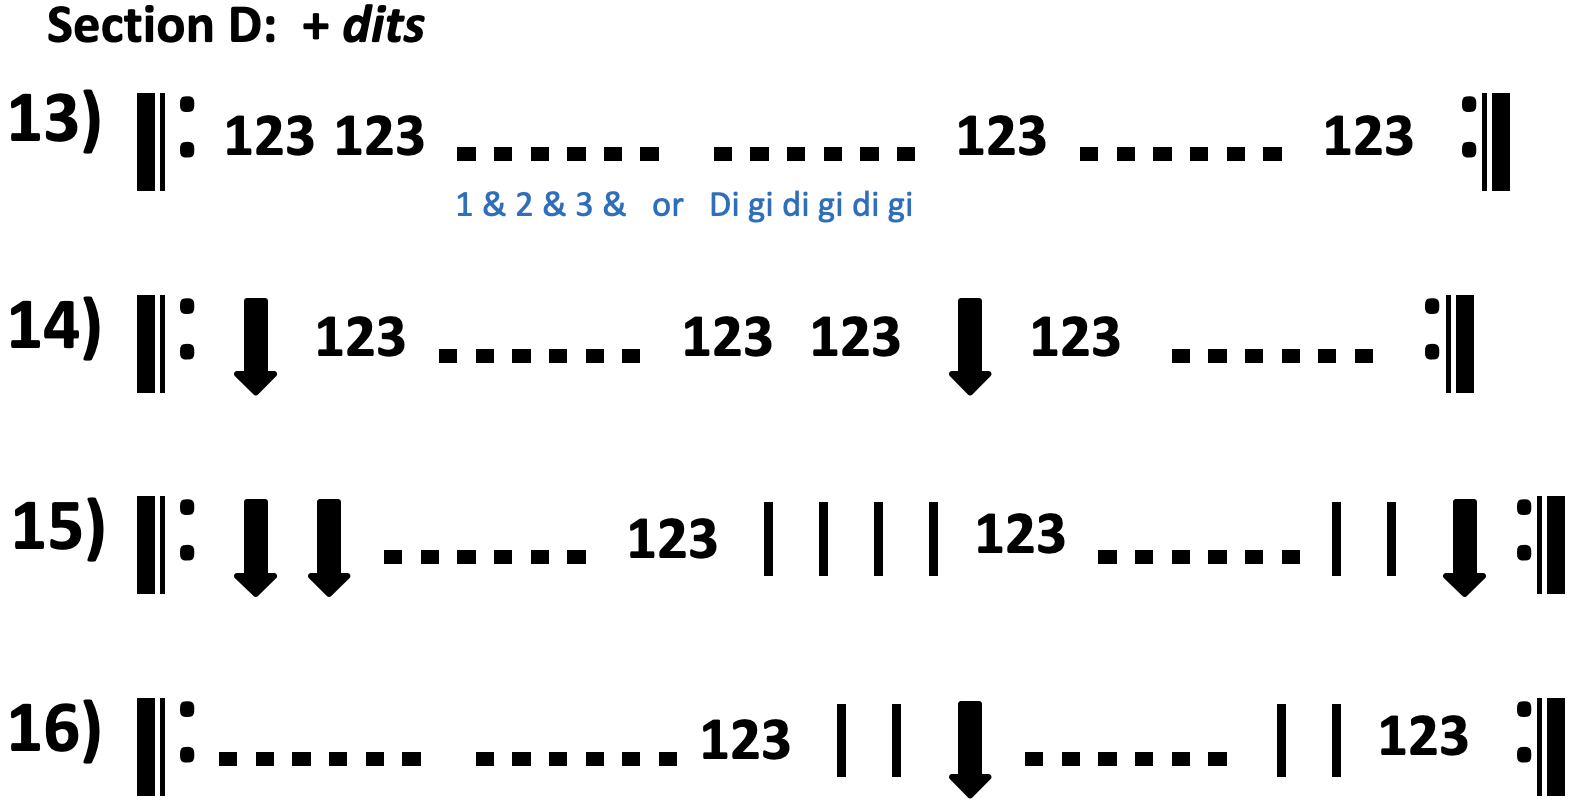
Section C introduces students to what “will be” both 6/8 meter and/or triplets. I prefer to count these two the same way because they are the same for all intents and purposes (why teach two different ways?) However, when that time arrives in your curriculum, “you do you.” The symbols I use for the eighth-note subdivision in triple-meter I call “digits” and are represented by the numbers 1 through 3. As I stated before, I am a BIG believer in using Thumb counting for your younger band members for both the visual aid and the motion reinforcement. I think it helps lock things in.
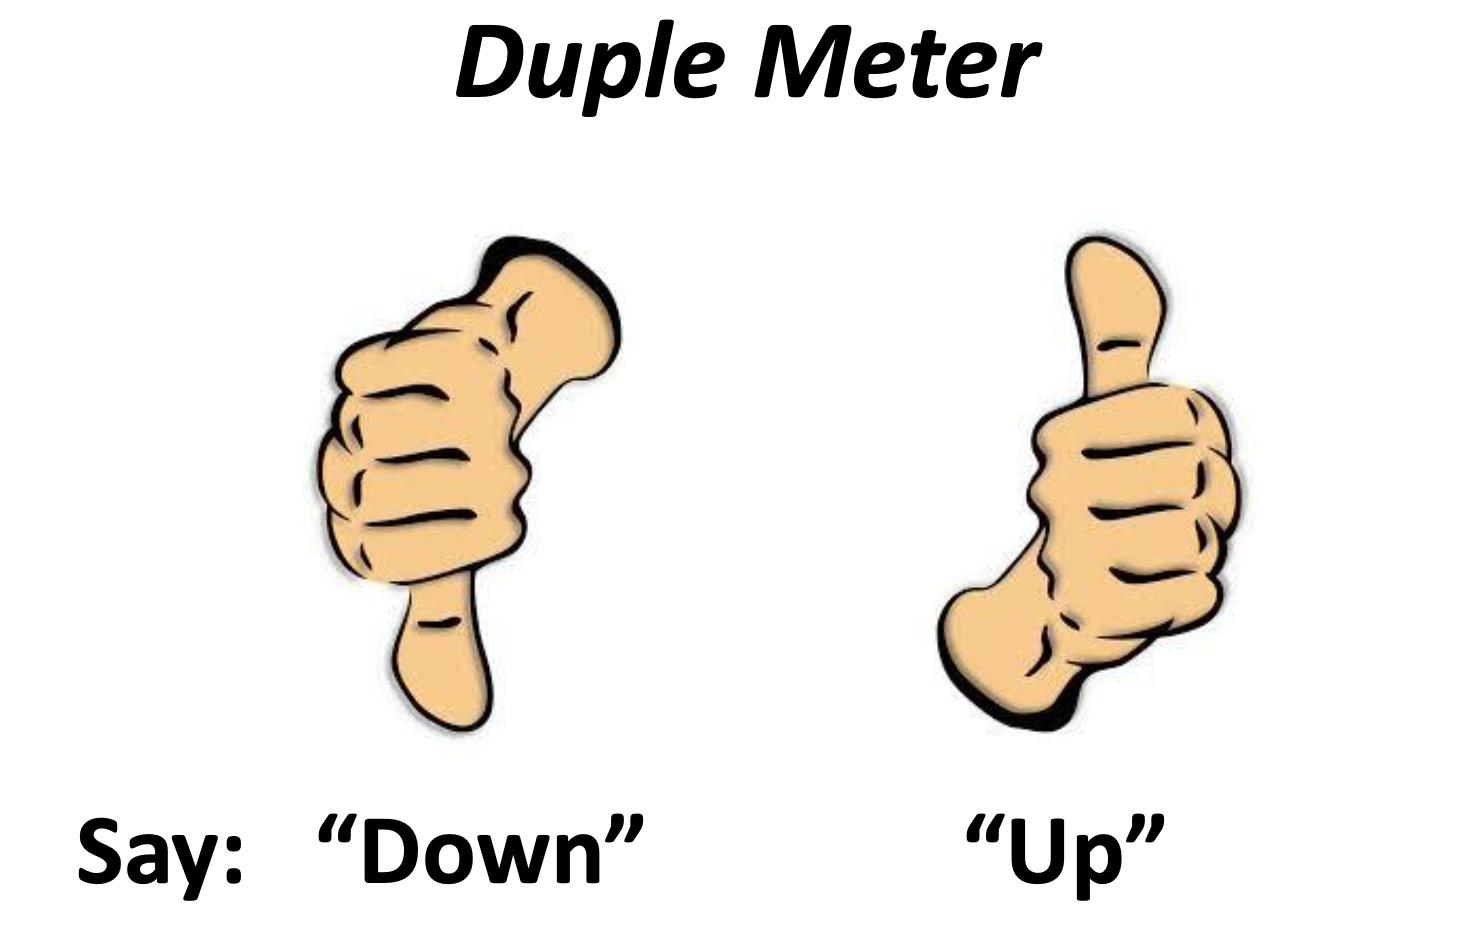 In duple meter, the thumb has a downward and upward motion, and students practice saying the “dash” word precisely when the thumb “freezes” in those positions. They must also coordinate their time with the click or other sound used by the metronome, keeping the tempo for your ensemble. If you are replacing numbers with arrows (visually or for counting verbalization), you can switch out the “dashes” in their performance for the words “down” and “up” any time you wish. I suggest, however, that you at least wait until after you have completed both of the “Time Line Dimensional Transfer” introduction sheets. The pacing of increasing the needed RAM to perform these game exercises is very gradual. It is important if your younger students are going to be able to decode the individual changes and additions between the various section levels. The incremental pacing of the materials presented is crucial, so be careful not to rush things.
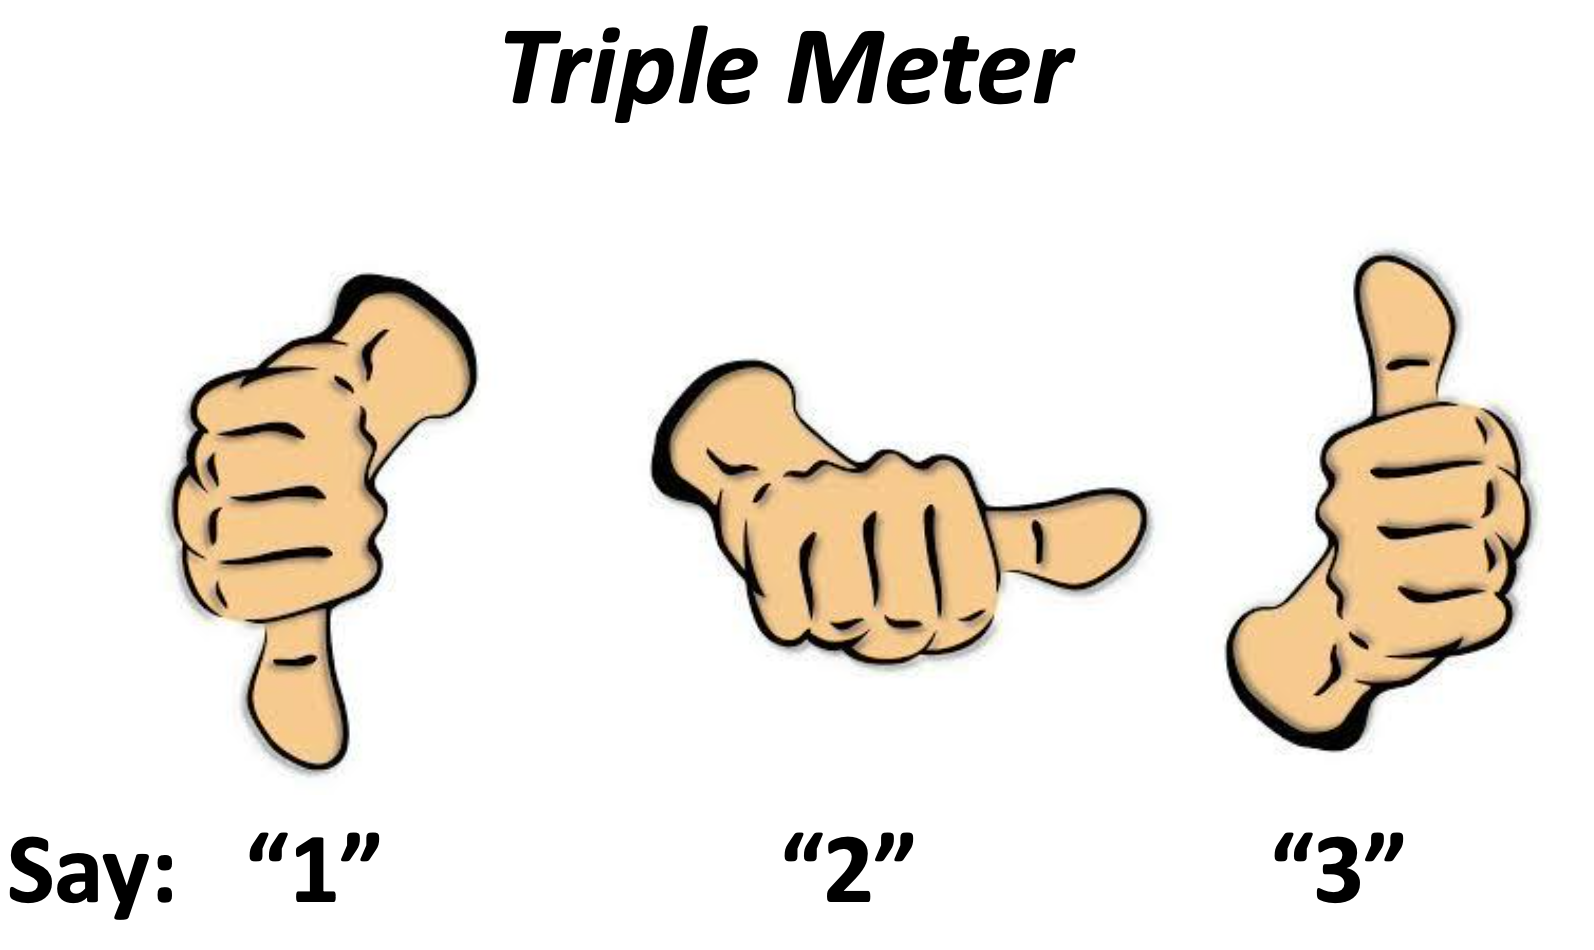 The “triple” meter visual and motion pattern is different and will require some independent practice after it is introduced (see thumb visuals). All three motions still occur within each pulse (or whatever metronome you use to keep the beat). The three independent motions are represented by, at first, the thumb being down, then pointing to the side (parallel to the ground), and finally in the up position. Students vocalize these positions by simply reciting the numbers “1, 2, and 3”, NOT where the thumb is pointing (that is saved exclusively for “duple” meter). When many band directors see the thumb graphics they are concerned it will confuse their students or that they will find it hard to execute. I find this is NOT the case, and spending just a little prep time on the “triple-thumb motion” will pay dividends in the long run. Do not underestimate how helpful incorporating the additional senses (visual and kinesthetic motion) can be in helping students decode AND PERFORM rhythms. Having a backup is ALWAYS a great strategy.
As in other sections, after its introduction, it should take about four exercise lines for your students to get used to their “digit” addition to the “4 D’s” symbol family. I am stopping here in this series since Section D is the one time you may need to do a double session. It introduces the last of our time-line, “velocities,” which is the 16th note subdivision in 6/8 meter. Yeah I know, you think I’m crazy doing this with beginners, but trust me, it does work. Remember, this is just a game, and we are pushing them because WE want to win the “teacher vs. student” competition. When you get to this level, your students will think that you are trying to stack the deck against them, which makes them even more determined to get it correct and win the round. Section D has the largest jump in “RAM” processing, but it is due to its performance more so than its decoding requirements. I will also present the fourth and final symbol in more than one way, allowing students to use the one they feel is the easiest to execute. I will save all of that “fun” for later, but I did want to give you a little heads-up for next time.


