
Managing the percussion inventory
Every conductor has experienced it: rehearsal is progressing smoothly, then the triangle part is missing. “Who is playing the triangle?” “Umm…we didn’t know we needed it.” Or “We can’t find it,” your percussionists reply.
There are three keys to solving this dilemma:
- Students must be able to quickly and easily locate the instruments and equipment they need,
- Students must know what they need and when they need it, and
- Students must set up their stations efficiently for each piece.
This is the first article in a three-part series addressing each of the keys to success. In this article, we will examine how to organize and manage percussion instruments and equipment. With more than 100 instruments a percussionist might be expected to play, it is no surprise that managing the physical instruments, sticks, mallets, beaters, and other equipment is one of the biggest challenges for student percussionists and music educators alike.
Keeping the instruments, sticks, mallets, beaters, and other percussion equipment where it can be easily found and just as easily returned to storage is an art by itself. A disorganized percussion inventory leads to damage, costing the program money. It makes it difficult or impossible for players to find what they need and just as unlikely they will put anything away in its proper place.
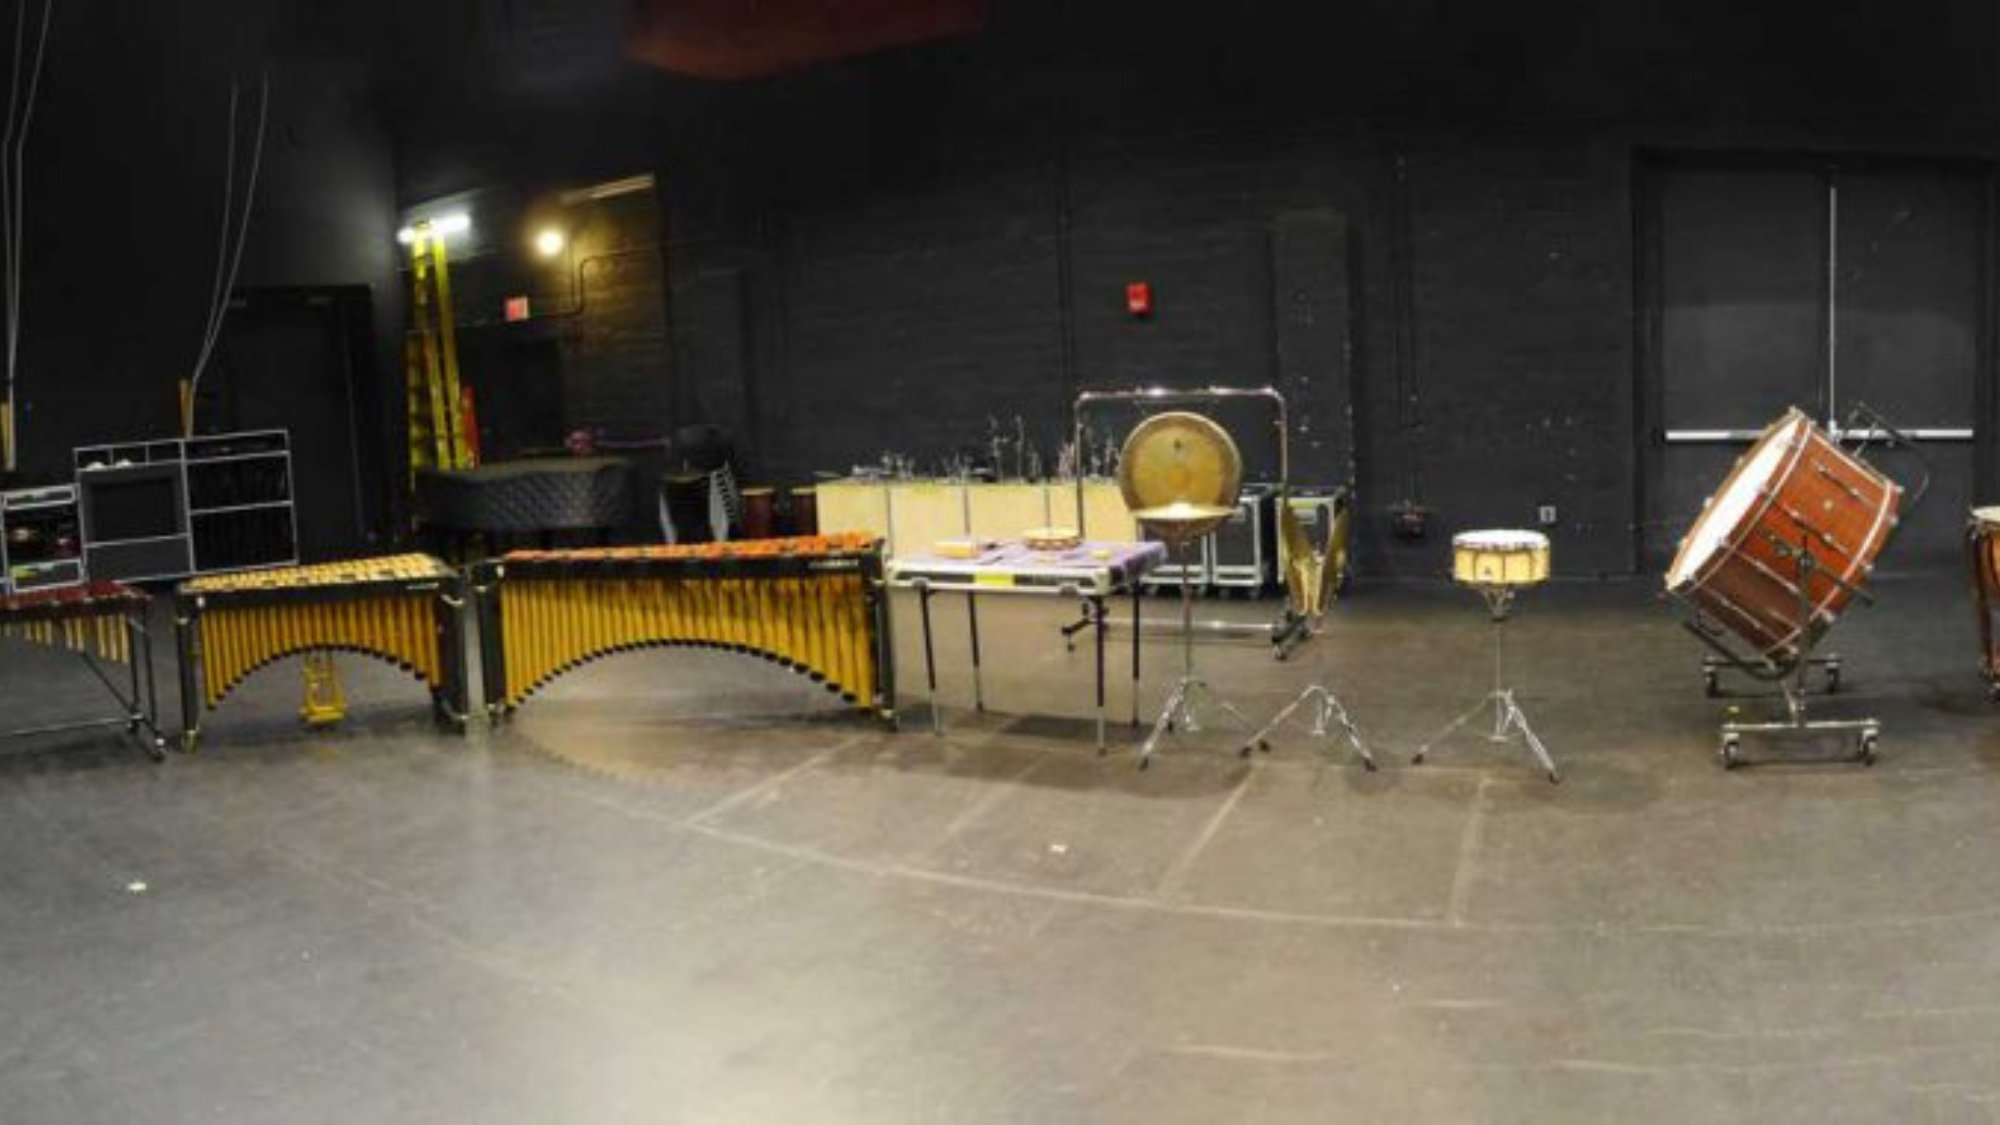
Large instruments, like marimba, xylophone, vibes, bass drum, and timpani are typically either left in their regular places in the rehearsal room or wheeled into a storage closet if one large enough is available. For most schools, leaving these out is the only option. It is a good idea to purchase short covers for keyboard instruments and covers along with head protectors for timpani. These covers will keep the instruments clean and dust-free, and have the added benefit of preventing impromptu playing by non-percussionists. Be sure to designate a space to put the covers when the instruments are in use.
Mid-size instruments, like snare drums, cymbals, and glockenspiel can either be left set up and ready to play or placed in storage, depending on the space available. If possible, best practice would be to get your students in the habit of returning these items to a storage location after each rehearsal. The storage location for mid-size instruments may be as simple as a set of deep shelves in the rear of the rehearsal room. Shelves can often be constructed by facilities staff, or can be purchased at relatively low cost from a home improvement store. If buying shelves, avoid the plastic versions as they tend to warp and often cannot support the weight of the instruments. Ideal shelves have metal frames and plywood or other solid shelves.
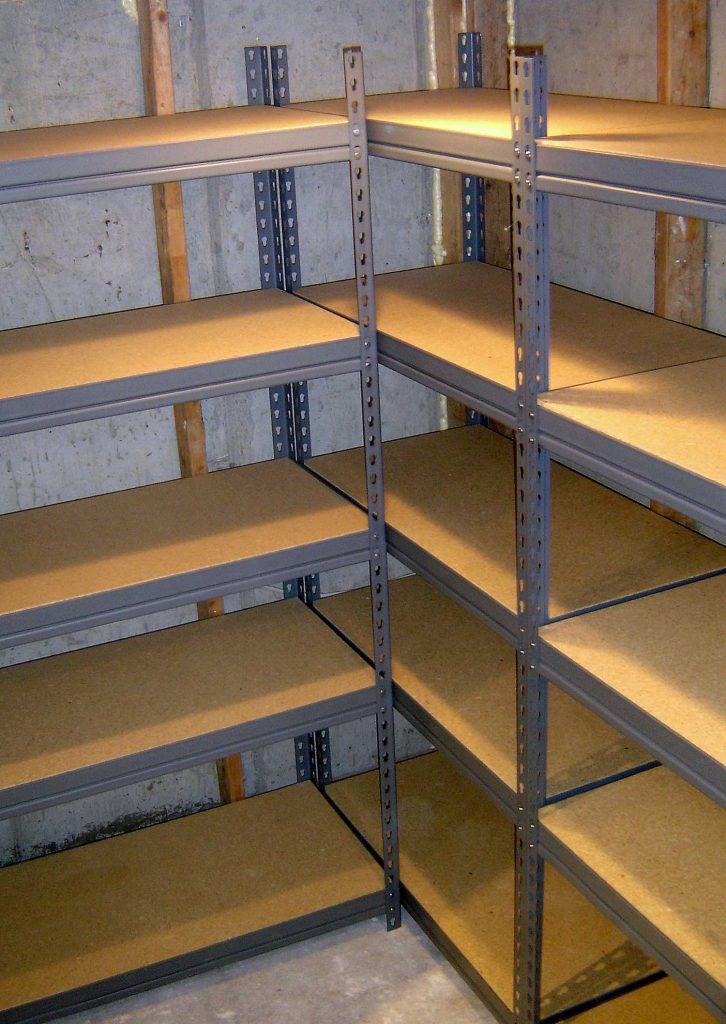
Plywood can be left bare or covered in heavy-duty fabric to protect instruments; either way is better than a metal shelf which may scratch the instrument. A web search for trunk liner carpet or speaker carpet yields great results. This carpet is thin, protective, and easily cut and applied with spray adhesive.
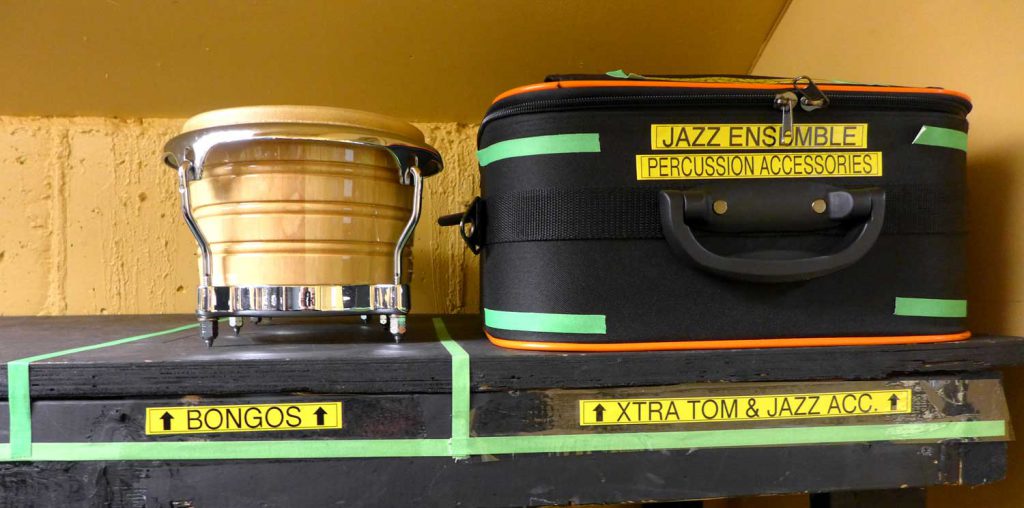
When arranging instruments on your shelves, it is most important that each instrument have its own designated space and that each space is labeled. Spaces can be set apart with thin colored tape (often called spike tape). A battery-powered labeling machine can be had for less than $75; aim for a labeler that can print on 18mm (3/4”) label tape. High contrast label tape with extra-strong adhesive is widely available and will help ensure labels stay put. In the November 2010 issue of Teaching Music, Steve Fidyk stresses the importance of neatly labeling each instrument’s individual location and every drawer, cabinet, and more.
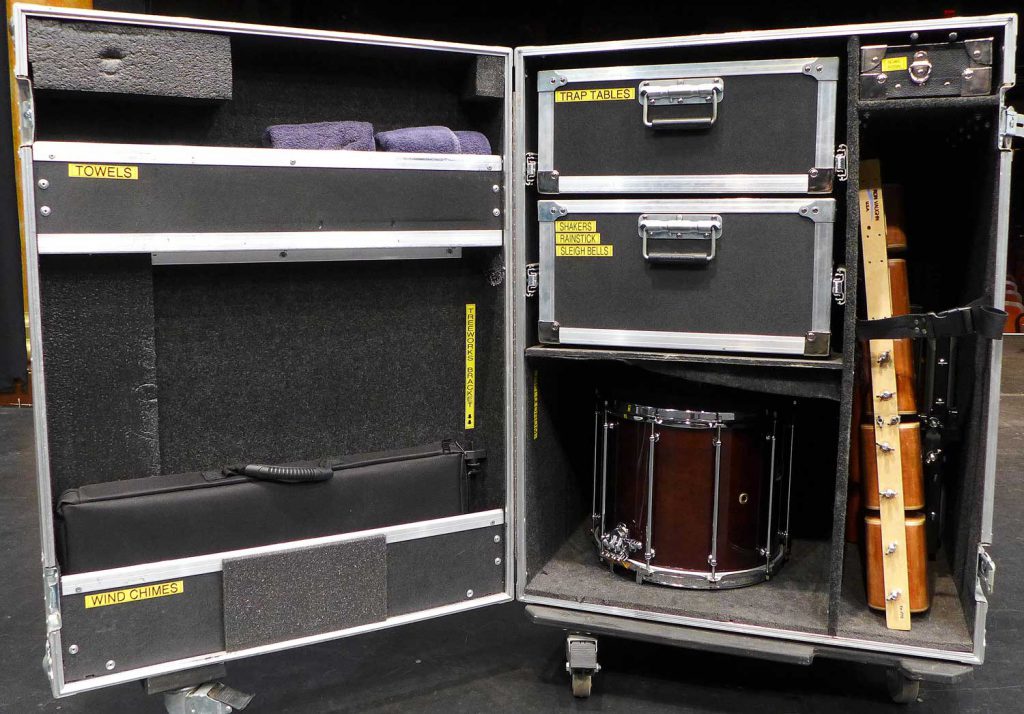
Small items, including accessory instruments, stick, mallets, and beaters, are ideally stored in percussion cabinets with drawers. There are many types of percussion cabinets available on the market, in styles designed for classroom use as well as more rugged “road case”-style cabinets.
All are good choices, but one might also consider another option: the tool cabinet. Tool cabinets are available from every home improvement center and come with many small, shallow drawers that are perfect for small percussion instruments. They can often be had for less money than cabinets intended for percussion, but work just as well if not better. When choosing a tool cabinet, make sure the drawers are deep enough (front to back) for sticks and mallets to fit.
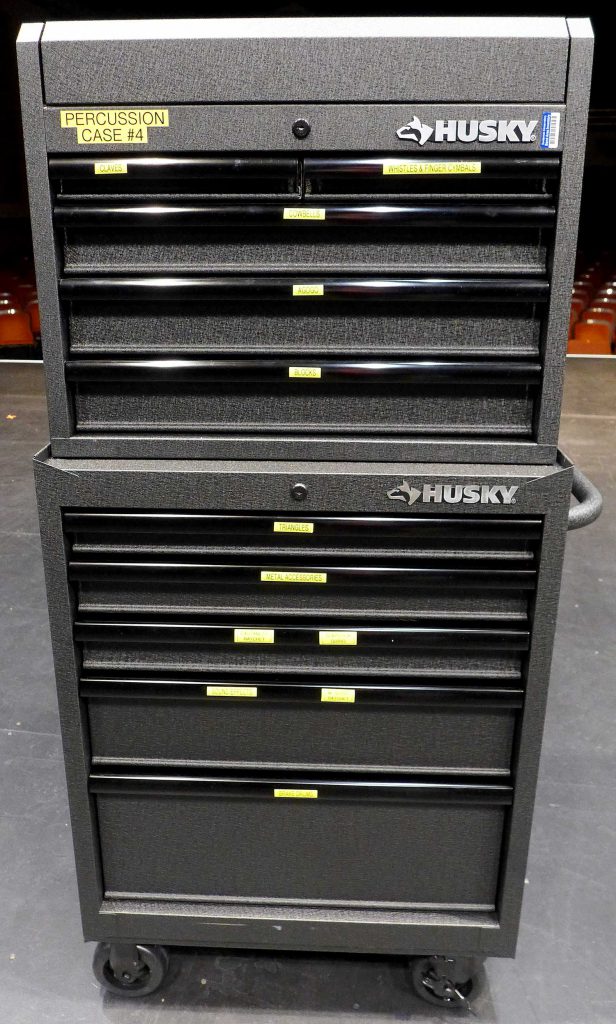
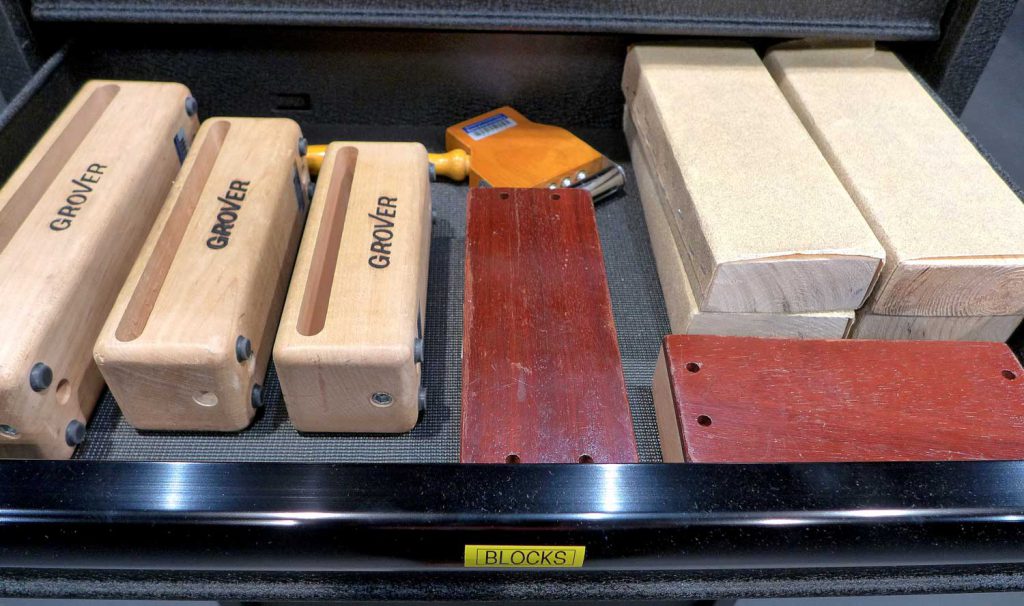
It is also important that items in each drawer only be one layer deep. In other words, avoid loading lots of stuff into the larger drawers causing students to have to dig for items. Save the larger drawers for larger items. As with the shelves, label each drawer with the items it contains and keep like items together.
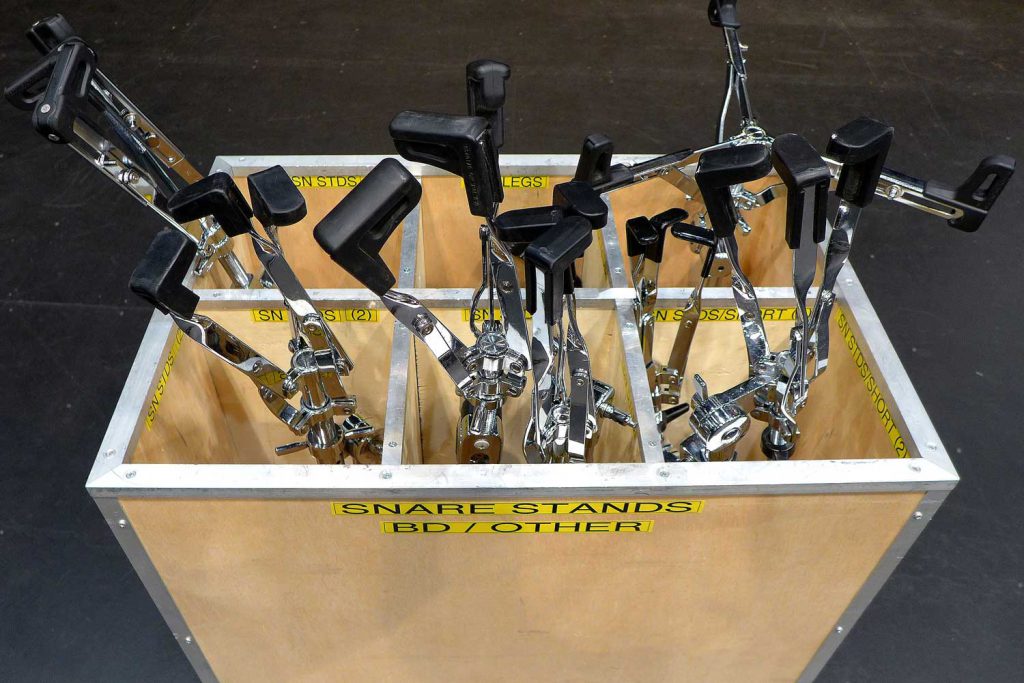
Percussion hardware, including snare stands, tom stands, cymbal stands, and the like can be stored in several ways. Hardware storage bags and cases are rarely the best solution as these are designed primarily for transport and assume that every stand will be removed from the case for each rehearsal and performance. Our goal is to create a storage system that will allow musicians to easily find and return only the stands and equipment they need at the time. Some conductors have found success designating a shelf for these items. This is good, but sometimes can make it difficult to retrieve a “buried” stand. Conductors may consider custom-built boxes or carts to hold their stands. These may be built by handy band parents with common materials, and go a long way toward helping organize the multitude of stands in many percussion sections.
The conductor and the students alike must commit to keeping the percussion area organized. Over time, students will see the value in a well-arranged system, taking pride in their instruments and in their role as valuable members of the ensemble.


