
Reed making is and will always be a precarious balancing act for artists of all levels. Due to the nature of the organic substance (cane) and the inconsistencies in the substance from piece to piece, it is paramount that we have a clear set of goals/priorities when making our reeds as these ultimately determine much of how we are able to convey our musical ideas and share our musical voice. Careful selection of cane and elimination or standardization of as many variables as possible greatly aids the outcomes and yield of ‘good’ reeds. It is also important to mention that, even with careful cane selection, different pieces of cane will demand different amounts of scraping to compensate for their shortcomings! Therefore, for a beginner, it is essential to understand which aspects to prioritize first and how they interact with one another. Below is a ranked list of the primary factors in reed making, followed by a discussion of how to build them into your reeds.
- Response (Articulation)
A reed that does not respond easily is unusable and will negatively impact your ability to be consistent. Ultimately, this leads to frustration! The oboe is already difficult to negotiate, and as such, we should do what we can to ensure that we are not making our lives any more difficult than necessary by playing on reeds that do not respond. A reed with great response allows a player to make confident entrances at any dynamic level, articulate cleanly and expressively, and play for however long they must without extraneous fatigue.
How to achieve it:
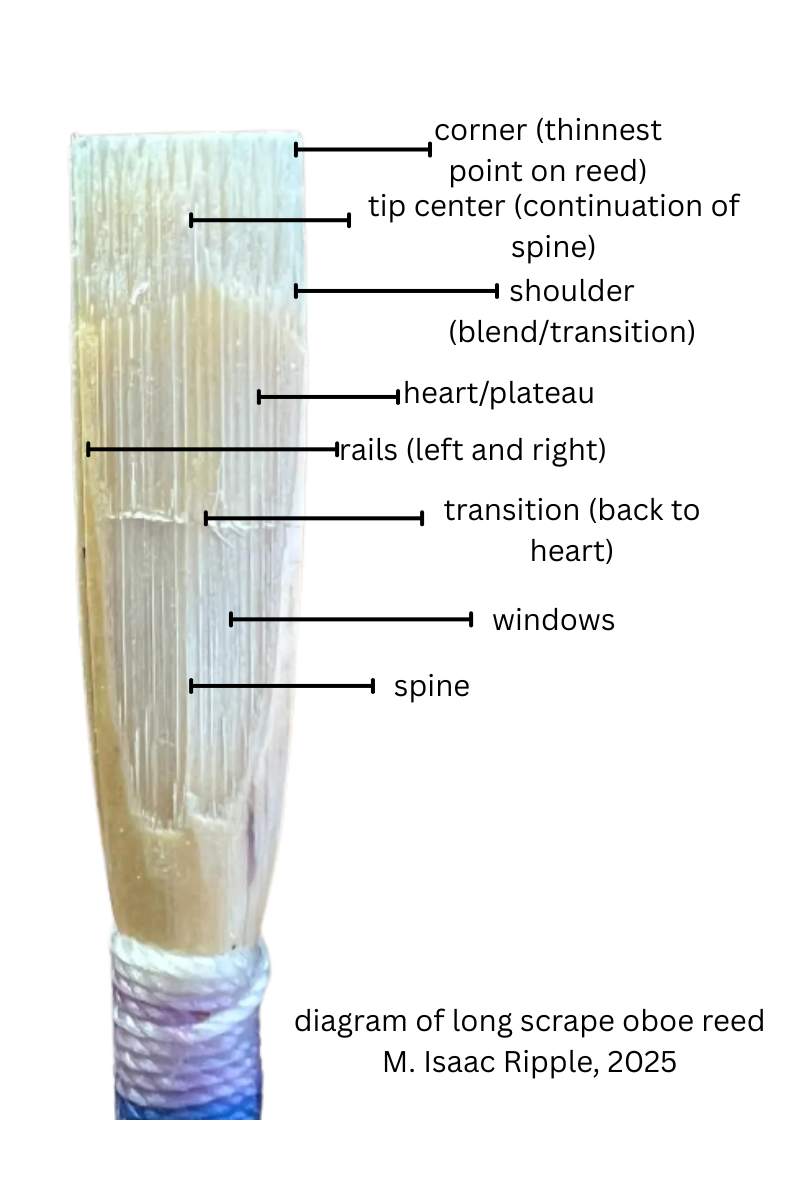
- Tip thickness: The tip of the reed is the most crucial area for crafting response across the full range of the instrument. If it is too thick, the reed will be unresponsive, but if it is too thin, the reed may become too weak and lack stability or a pitch-floor. A properly scraped tip should be thin enough to allow easy vibration but still maintain enough material for support. Pay close attention to the sides of the tip and to the corners; these two areas are the thinnest portions of the tip. When the corners and sides are thin enough, the reed will ‘sit up’ and provide a good amount of resistance to allow for flexible air and dynamic control at all levels (soft to loud).
- Windows and spine: Having a well-defined spine (the thicker central part of the reed) and appropriately scraped windows (the lighter areas on either side of the spine) can help ensure the reed vibrates freely. If the windows are scraped too thin, the reed can collapse and projection will be sacrificed.
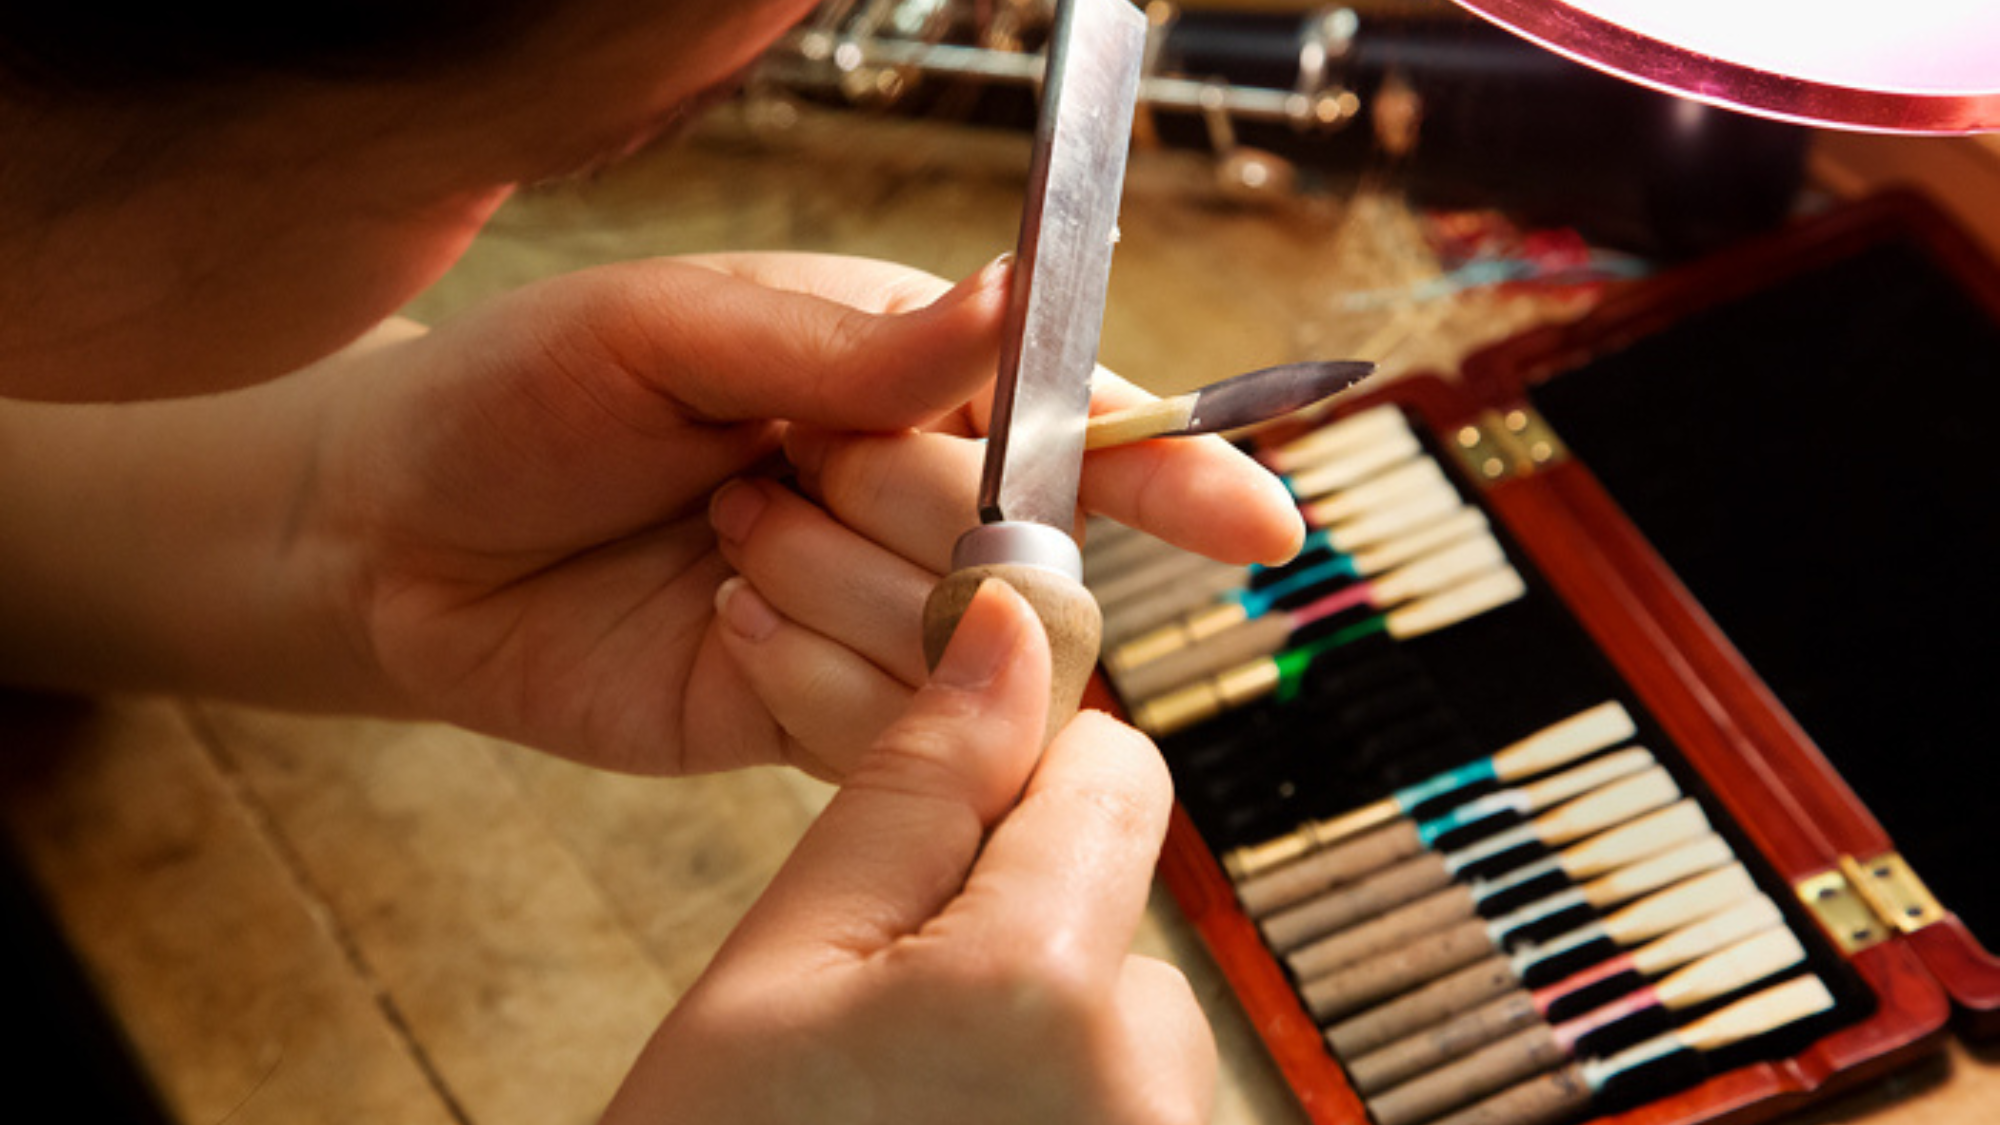
- Knife technique: Use light, even scraping motions rather than removing too much cane at once. Scraping in small increments allows you to maintain control over the reed’s response. Remember that you can always take more cane off the reed, but you can never put cane back on the reed. A sharp knife is imperative. Do not leave the plaque in the reed for any longer than absolutely necessary.
- Test early: Check the response frequently while scraping by crowing the reed. Be diligent in your crowing and pay close attention to how much effort it takes for the sound to begin once you start to push air through the reed. In general, you should crow the reed for the first time once you have scraped the tip to about 80% completion and removed the bark on the heart/plateau.
- Pitch and Stability
If a reed does not hold pitch or is unstable, it will make playing in tune very difficult. While response is the first priority, a reed must also have proper structure to avoid wild fluctuations in pitch. It is important to know good general measurements for your reeds as these can greatly impact intonation. It is also important to know how to analyze the crow of the reed and what pitch(es) equate with ‘in-tune’ on your instrument. Generally speaking, a two octave ‘c’ crow is a good goal.
How to achieve it:
- Balance between the tip and the heart/plateau: The heart (the thicker central part of the reed, just behind the tip) provides stability and support. If the heart is too thin, the reed will be unstable and may collapse under air pressure. If it is too thick, the reed will not vibrate freely and may sound stuffy.
- Blending the scrape: A well-blended scrape ensures that no one section of the reed is too dominant, which can lead to instability in pitch.
- The Transition: Pay close attention to the transitional region from the tip to the heart. Vibrations must travel from the tip into the heart and then eventually into the back of the reed. If there is too sudden of a drop-off from the plateau to the tip, then not enough vibrations will be making it into the heart.
- Tone
A reed that responds well and holds pitch still needs to produce your unique and personal oboe sound. However, achieving the ideal tone is dependent on first ensuring response and stability. Many students just beginning their reedmaking journey will make a reed, and the tone produced will match their aesthetic principles, but at the expense of response and/or pitch. If your reed has great response and a good center of pitch, then there is a very high probability that the tone will also be pleasant.
How to achieve it:
- Heart thickness: As previously mentioned, you can always take cane off, but you cannot put cane back on. The center of depth for the reed is in the heart. Removing too much material here can make the tone weak and will negatively impact projection.
- Side rails: Keeping the sides of the reed intact helps prevent a thin, nasal sound.
- Blending the scrape: Even distribution of cane removal ensures a warm, centered tone as vibrations are able to move from one area of the reed to another without any significant buildups or blockades.
- Resonance
Resonance is the final refinement in the reedmaking process. It enhances the richness and projection of the tone, but is only achievable once response, stability, and basic tone quality are set. Resonance is deeply tied to each player’s physicality and physiology, and it takes time to develop a reedmaking style to maximize your own resonance.
How to achieve it:
- Fine adjustments: Light scraping in key areas (such as the windows and sides of the tip) can increase resonance without sacrificing stability. This must be done with a very sharp knife and in small incremental stages.
Vibrancy: A reed that is too stiff will not resonate well. Make sure the tip is thin enough to allow the reed to vibrate freely and make sure that your heart is scraped evenly from back-to-front.


